
This collection of DIY Ice Ornaments includes easy winter nature projects for kids, along with with some dazzling examples of this simple art.

Even pre-schoolers will enjoy this outdoor activity which develops a love of nature while honing motor skills. Their understanding of water and the freeze and melt cycle of ice will also increase.
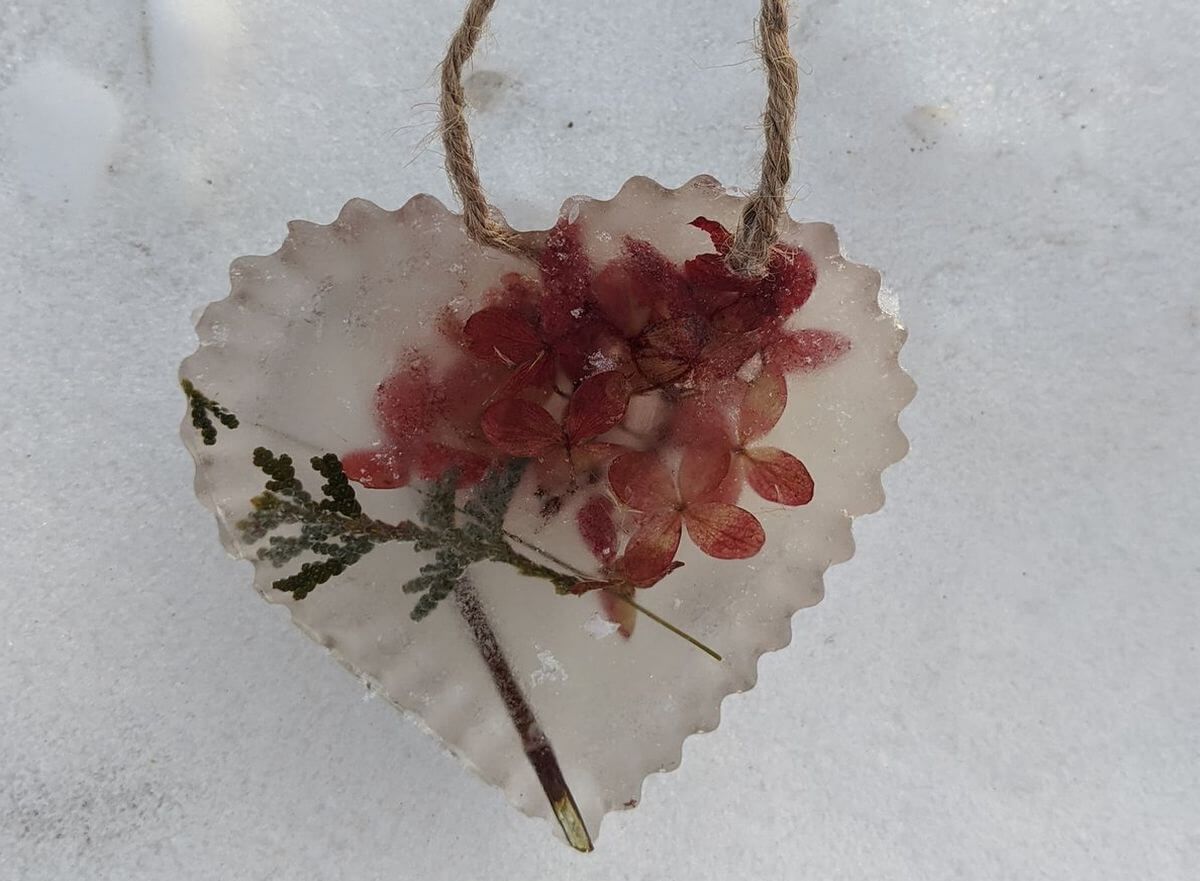
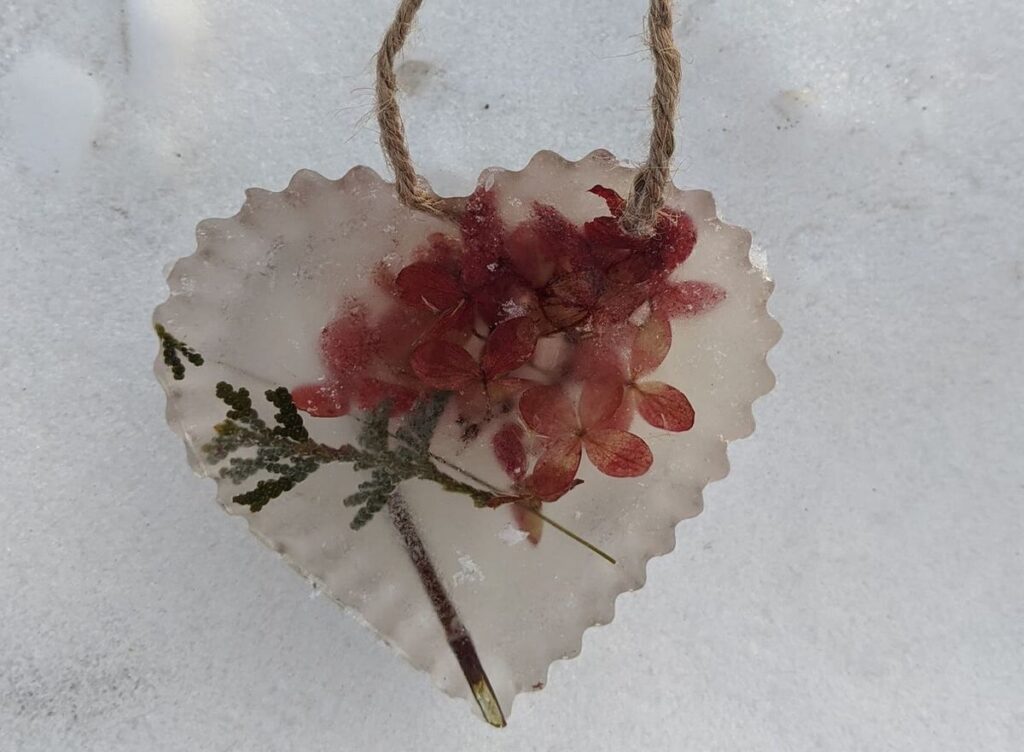
To get started, brighten up a winter day by going on a nature walk. Collect a few small natural bits and pieces along the way then include them in your own ice ornaments.

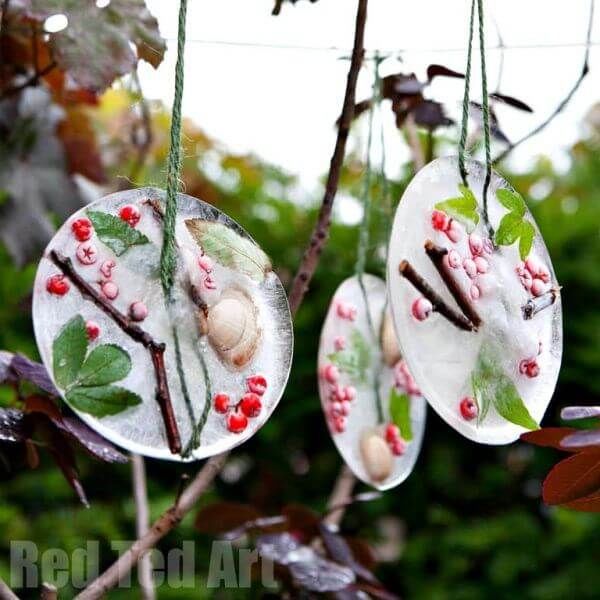
From Red Ted Art, beautiful ice ornaments frozen overnight in foam plates and recycled foam trays, including natural bits and pieces from a walk around the neighbourhood.
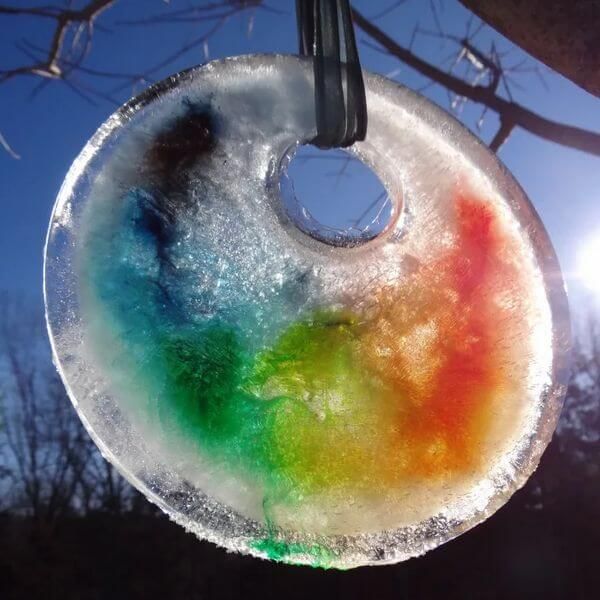
Try your hand at a variety of winter suncatchers from Felt Magnet, including pretty iced creations made with pie plates, food coloring, marbles and colored ice cubes.
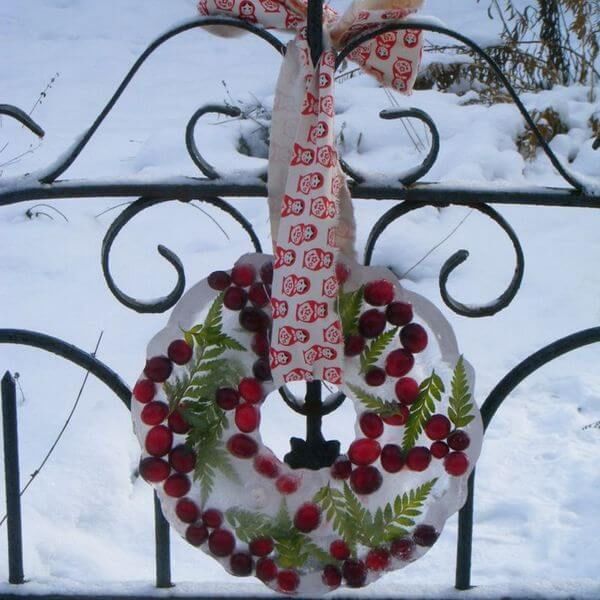
An older post that has inspired many lookalikes! Try making your own ice wreath by adding water to a bundt pan or a cake pan with an upturned bowl in the middle. Add cranberries, crabapples or other colorful additions along with some greenery. Freeze, tie a ribbon through the hole and hang. Or skip the ribbon and lay the wreath down with a candle holder in the center.
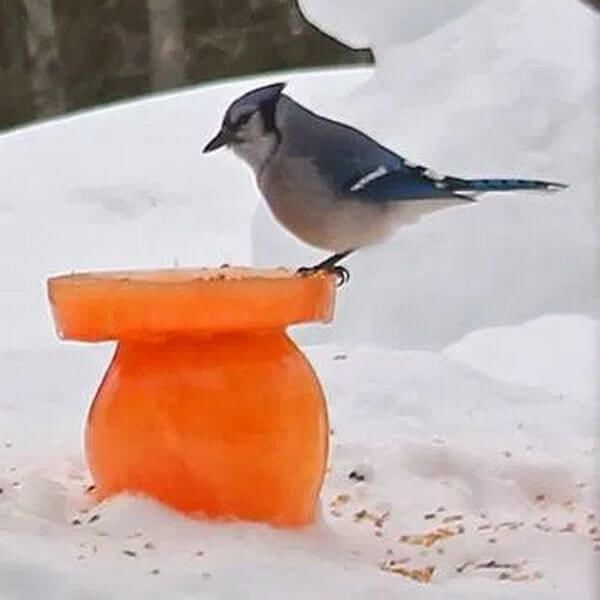
Add food coloring and water to balloons to start this ice sculpture bird feeder. Make the top by placing a shallow bowl inside a water-filled cake pan, add food coloring, then freeze. Connect the two by pouring cold water over the colored ice orb and settling the frozen bowl on top. See Twig and Toadstool for detailed instructions.
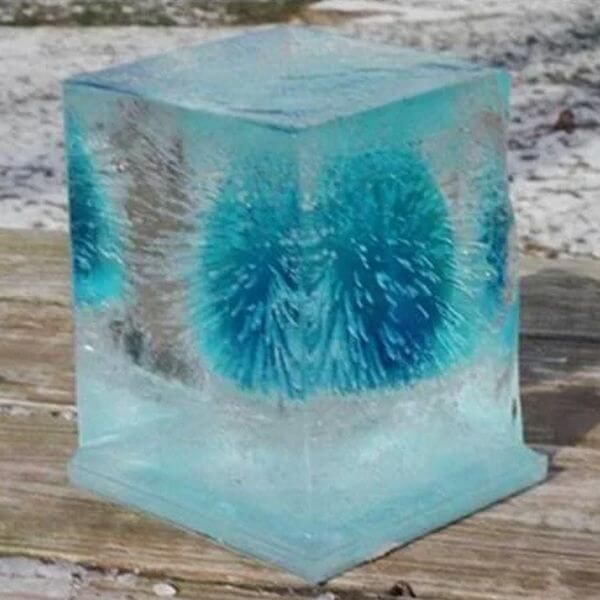
Add color and dimension to your ice sculptures by adding food color and water (plus a few grains of sand) to assorted containers. These can include the long, snake-like balloons used for balloon sculpting, as well as water pitchers, bowls or buckets. Stack large ice ornaments together as a unique sculpture and consider adding Christmas lights during the holiday season.