Last updated on January 18th, 2021 at 11:30 pm


 Warm weather is here, and that means most of us will be wearing nail polish more often to show off our hands and feet. Here’s how to apply nail polish properly, for long-lasting effect.
Light summer clothes and sandals mean your feet and hands will be taking center stage, so putting a few extra minutes into proper nail care is must for the prettiest looks. Whether you are applying nail polish to your hands or toes, the basic principles for your DIY manicure or home pedicure are the same.
1. Prepare your nails properly before polishing. Nail polish won’t adhere well to nails that are dirty or oily. Wash your hands thoroughly to remove any lotions, dirt or oils, and then brush each nail with a bit of nail polish remover. This will remove all oils from the nail itself and prepare it for accepting polish.
2. Lightly buff your nails and file off any rough edges. Polish will be more prone to peeling and flaking if the nails are rough around the edges or have ridges in them. Filing and buffing gives a smoother surface so that polish won’t flake.

3. Choose the right polish. Did you know that nail polish expires? Most brands will only last about a year before they become thicker and start to clump.

Polish that’s too thick will go on thicker and won’t dry well, leading to more chance of smearing or smudging.
Most nail polish formulas are similar and will last almost a week, but fast drying formulas are an exception. The extra ingredients that allow fast drying polishes to set so quickly also makes them peel more quickly, so try to avoid fast-dry formulas unless you absolutely have to use them. The extra few minutes spent drying a standard nail polish will be well worth it if your manicure lasts days longer.
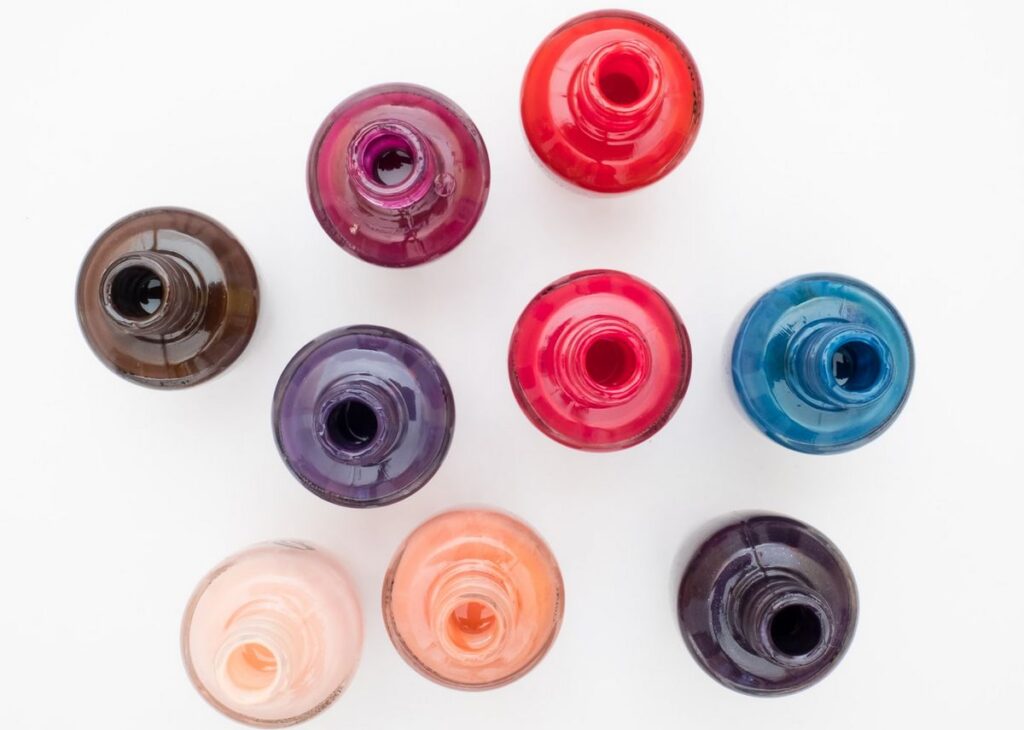
4. Care for your polish properly. Summer weather is especially tough on nail polish – the high temperatures can cause polish to separate and the color to change. To keep your nail polish in top condition, refrigerate it in the summer.
You should also clean the polish bottle carefully after each use by wiping the outside edge of the bottle with a cotton ball soaked in nail polish remover to keep the bottle from sticking shut.
Finally, be sure that you gently blend the nail polish before applying by rolling the bottle between your hands. Shaking a bottle of polish will create air bubbles in the polish that can cause bumps and clumps when you apply it – guaranteed to shorten the life span of your pedicure.
5. Use a base coat and top coat. It takes a bit more time to do a complete manicure rather than just throwing on some polish, but its well worth the effort. After your nails are clean, be sure to apply a base coat; this product prepares the nail for polish and gives nail polish something to cling to so that it lasts longer.
Follow the base coat with two thin coats of polish in the desired color, and then finish off with a quality top coat. When you apply the top coat, be sure to run the brush horizontally across the tip of the nail with a bit of it going under the edge of the nail. This will help prevent peeling and seals the manicure properly.
6. Don’t rush things. Be sure to let your nails dry five to ten minutes between each coat. If the coat below isn’t completely dry before you add the next one, your nails won’t dry properly for quite a while, leading to chips and smudges. If you are in a rush or simply impatient, plunge your nails into ice water for a few seconds between coats – this will quickly dry and seal the polish.

Enjoy your beautifully painted, long lasting nails! Remember not to open soda cans or pick at envelopes with your freshly painted nails. Using your nails as tools won’t help you keep your nail polish fresh at all!
Contributed by Sally Hart
